The single most important part of any email marketing campaign is to make sure your emails reach your intended audience.
We know a lot of marketers and major companies struggle with this so I have put this guide together to provide key points that require action which will help enormously with getting more emails delivered to the inbox by having a better sender reputation
If you are a bigger client and send a range of different emails like transactional, newsletters, updates, receipts etc and you use a dedicated server, set up separate IPs for each type of email you send
Set up your main domain name to send company transactional emails and set up variations to send other types of email, so set up your company domain name/news etc from separate IPs and this way Google and other IPs wont group all of your emails in the promotions tab
Use double opt-in
The old favourite but it is important and requires each new subscriber to confirm the email you send them to confirm they want to receive your emails
Whilst this will result in lower overall subscribers being added to your list compared to single opt-in, the overall quality and open rates will be far superior and removes the possibility of bots signing up which will cause you possible spam issues
Authentication
If you are an InboxingPro customer you know we create all of records to add to the DNS editor to validate your domains
If you are not an existing customer the following validation is critical to help with your sender reputation
Use SPF authentication
Also known as "Sender Policy Framework", this is an authentication protocol that states whether an IP is authorized or not to send emails for a domain.
Here are a few places with useful resources about SPF:
Unlock the Inbox - SPF Guide
busix
Here are some SPF Testing tools:
Unlock the Inbox - Mail Tester
Scott Kitterman's SPF Validator
Use DKIM Authentication
Also known as "DomainKeys Identified Mail", this is a protocol that allows other mail servers to verify whether the email you sent has been tampered with or not. Basically, it verifies whether the email received from a specific domain was indeed authorized by the owner of that domain.
Here are a few places with useful resources about DKIM:
Unlock the Inbox - DKIM Guide
The DKIM Project
Here's an easy wizard to help you create your DKIM Record
Unlock the Inbox - DKIM Wizard
Use DMARC authentication
This is a very important record and provides both the SPF and DKIL records and this is used by all the big ISPs
Shortcut for "Domain-based Message Authentication, Reporting & Conformance", this is an authentication method that prevents phishing attacks and reduces spam. It enforces a policy that tells the ISP what to do when it receives emails, apparently from your company, that fail either SPF or DKIM.
Here are a few places with useful resources about DMARC
Unlock the Inbox - DMARC Guide
The DMARC Project
We create the SPF and DKIM records automatically in our autoresponder app and provide video tutorials to add the records to the DNS editor
Use a reputable DNS Provider
Mail delivery depends a lot on being able to retrieve records from DNS.
ISP's also check the reputation of your nameservers. Here are a few DNS Providers:
DYN Managed DNS - Provides a lot of tools and options to secure your DNS Properly.
Cloudflare - Provides DNS Management and a suite of optimization tools.
DNS from large registrars should be fine, although we have seen slowness in some registrars applying DNS changes.
Use a reputable CDN for static content
Also known as "Content Delivery Network", it caches versions of your content around the world.
There are four main reasons to use a CDN:
To provide faster load times for images included in the emails you send.
ISP Providers won't block them since they are known and reputable.
You will also benefit from DDOS protection which keeps your website online even if it`s attacked.
You will benefit by default from an advanced firewall that can help mitigate some of the classic attacks looking to exploit your website.
CDN Providers:
Cloudflare
Microsoft Azure CDN
Amazon CloudFront
DNS Example
A Record (1.2.3.4) > "Points To" > PTR Record > "Points to" > Hostname (example.com) (Forward)
Hostname (example.com) > "Points To" > PTR Record > "Points to" > A Record (1.2.3.4) (Reverse)
ISP Providers won't block content from CDNs since they are known and reputable.
Use PTR records (Reverse DNS Lookups) for your sending IPs
This is mandatory. Most ISPs require FCrDNS (Forward Confirmed Reverse DNS). It sounds complicated, but it's really not.
Here are a few resources on FCrDNS:
Unlock the Inbox - PTR Records.
SPFBL - Introduction to FCrDNS
Here are a few places to test FCrDNS at:
Unlock the Inbox - Mail Tester
Junk Email Filter FCrDNS Test
Warming up your IPs
If you have set up a new IP and domain name it is important to slowly introduce this to the ISPs
Warming up IPs is important
Don’t send too many emails at once. If your sending platform supports it and Inboxingpro.com does, use limits per hour or per day for each of the IPs per domain. If you send too many mails at the beginning, you can get bounces and/or deferrals.
Here are some limits, per provider, that you should follow in the first 30 days
Yahoo: 200 emails/day/IP (for at least 5 days), then you can double every day.
Gmail: 200 emails/day/IP (for at least 5 days), then you can double every day.
Hotmail: 200 emails/day/IP (for at least 5 days), then you can double every day.
AOL: 200 emails/day/IP (for at least 5 days), then you can double every day.
Cloudmark (all domains): 50 emails/day/IP
Time Warner: 100 emails/hour/IP
Cox: 100 emails per connection per IP, up to 5 IPs
You should always visit the postmaster website of the domains you are trying to send to in bulk. A lot of times you'll find the sending limits published within their bulk sender guidelines.
We have published a post here to set up 4 of the main ISPs postmaster tools
Warming up your IP can also be beneficial if you find your delivery declining or you may have changed hosting etc
Several other examples on how to warm up your IPs:
Start a new warm up for the existing IP.
Send only to subscribers who have opened at least one of your emails in the past 30 days.
Limit your starting volume to 3,000 subscribers.
Keep sending to those subscribers only, for the first 3 days, before increasing the volume.
Increase the volume by 1,500 subscribers with opens in the last 30 days. Your new total volume should be 4,500 subscribers.
Keep sending to the new volume of 4,500 for two more days.
Follow this strategy to increase the volume every two or three days by 50% of the actual volume.
After 10 days, you can start increasing the volume by doubling it.
Feedback Loops (FBL)
Register to all FBLs
Also known as complaint feedback loop, it is a service offered by some ISPs that report back complaints (when a subscriber hits the spam or junk button in their inbox) to the sender. It's provided to aid senders in keeping a clean list and preventing the subscriber from getting unwanted mail.
Feedback loops are provided by some ISPs to aid senders in keeping a clean list and preventing the subscriber from getting unwanted mail
Gmail has a feedback loop that is only available for ESPs who are MAAWG members and are approved by Google as good senders.
To be sure that your email doesn’t end up in a recipient’s spam folder, maintain your sending reputation:
Keep an eye on your email deliverability.
Look at subscriber engagement and try to keep your complaints rate within 0.2%.
Monitor delivery errors.
Clear your mailing list from bad and invalid addresses regularly.
Your sending reputation is always in your control, so take advantage of postmaster features, analyse the data, and watch your score grow.
Email Blacklists
Make sure your domain/IPs are not on any blacklists before you send
Many companies use the same blacklist providers, so being listed on a single blacklist can affect your delivery to many different ISPs.
There are a few different types of blacklists
Public - These blacklists are published so any ISP can use them. They are the easiest ones to monitor using automated tools.
Private - These are paid blacklists - The only way to actively monitor these is to use inbox testing tools to check your delivery.
Internal - These are maintained by the ISPs directly. They can be monitored with inbox testing tools, as well.
Some ISPs use multiple blacklists, so it's very important to monitor all aspects of your sending using the different tools available.
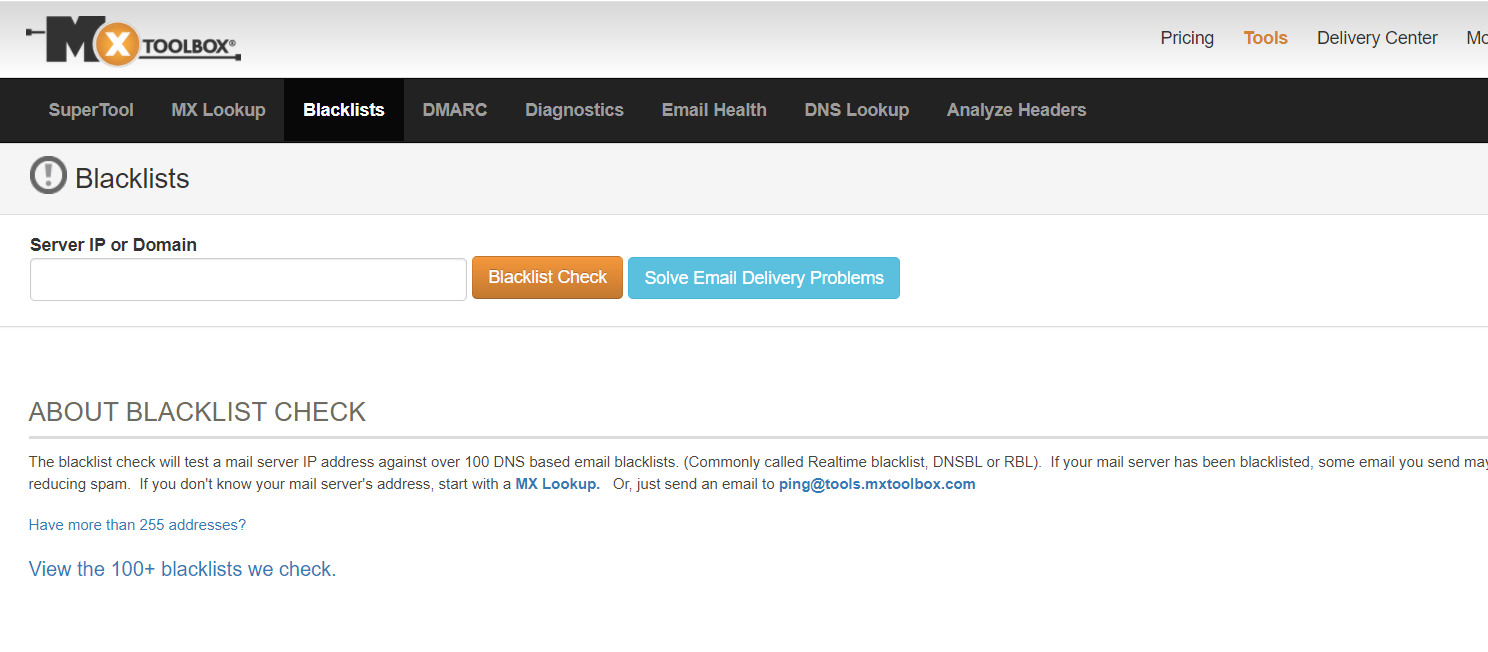
Here are our favourite tools for checking if your domain/IP is on a public blacklist:
multirbl.valli.org - The fastest and easiest to use
mxtoolbox
Whitelisting Services
Whitelist your IPs after 90 days of sending
The reason you have to wait 90 days, is that some whitelisting services require to see your sending history.
Whitelisting your IPs provides many different benefits at different ISPs:
Increased inbox rates
Increased Sending Volumes
Less restrictive spam filtering
Free whitelisting services
Yahoo
AOL
United
DNS WL - Helps with places that use Spam Assassin.
Paid whitelisting services
Return-Path - This is one of the best whitelist programs.
CSA (Certified Senders Alliance) - Based out of the EU.
Email List Quality / Sender Score
Try to avoid buying and renting an email list, even if it’s from a reputable provider. ESPs have ways of detecting if a list is bought or rented and they can/will reject it when you will try to import it into their mailing platforms. No email validation company can help you here and the reason has nothing to do with the validity of the email recipients.
Try to get an open rate of at least 15% and a click-through of at least 1%.
We also recommend removing all non-opener emails after 6 months. These emails are probably valid, but not in use.
A lot of domains use Sender Score as a determining factor to allow emails from your IPs. If your Sender Score is less than 90 you should take action to improve it.
Monitor Your Sender Score
Domains use Sender Score to determine whether or not to allow emails from certain IPs. If your Sender Score is < 90 you should take action to improve it. You can monitor you Sender Score: Here
General good housekeeping tips
Content
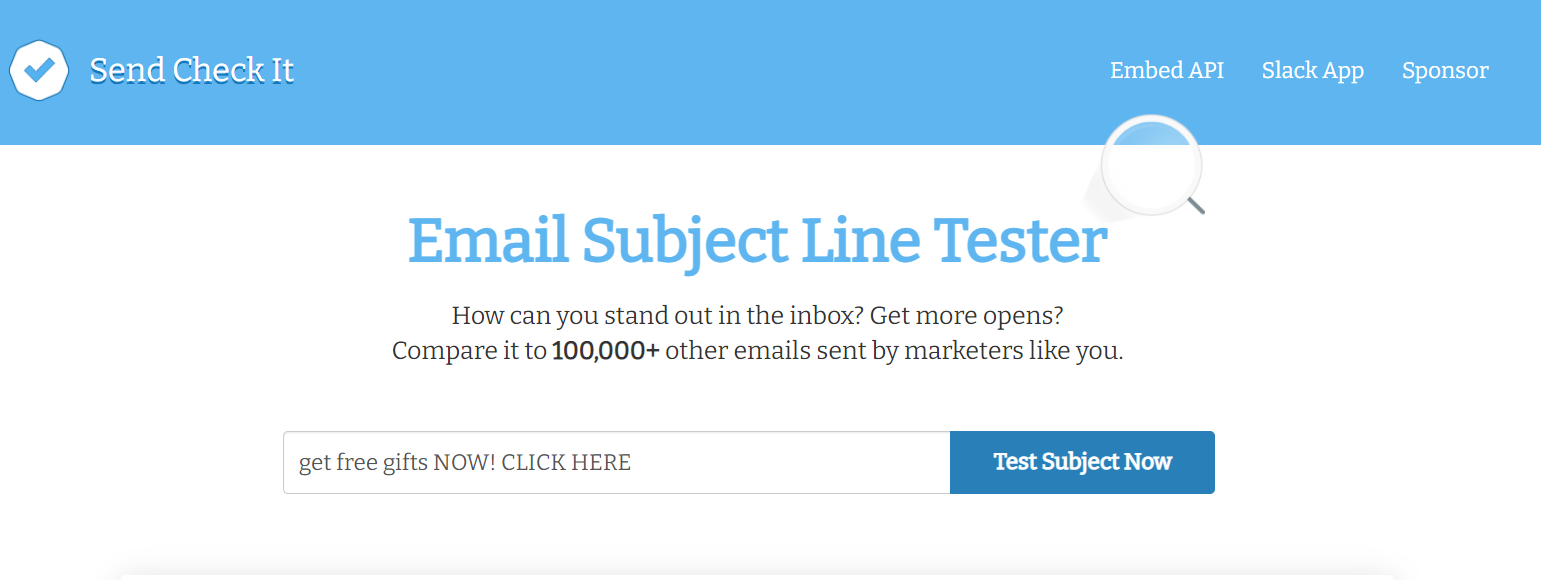
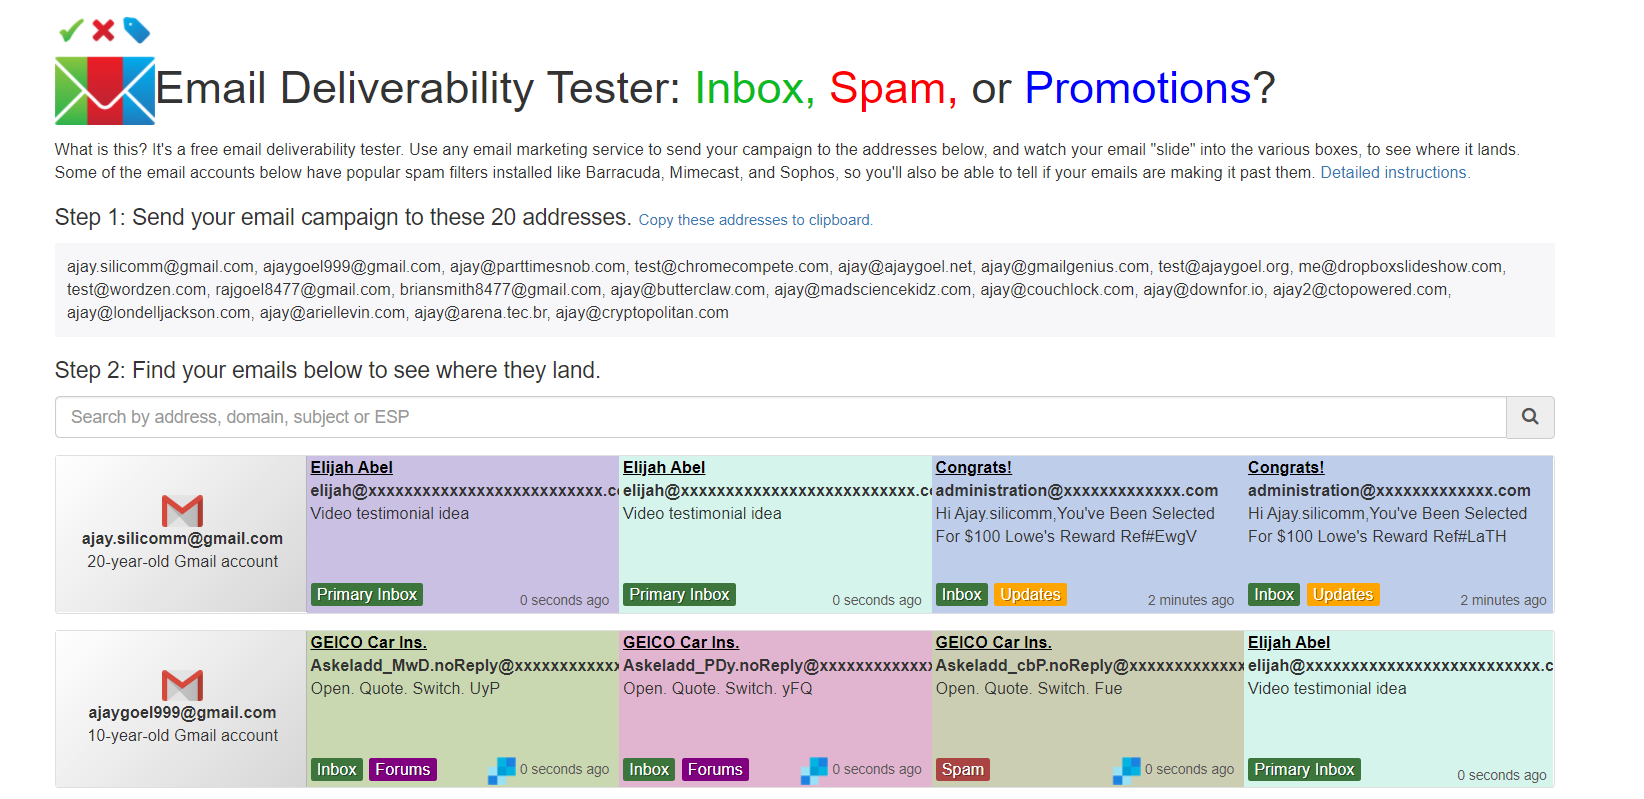
Use the recipient's name in the subject line and in the header of the html (e.g.: "Dear John"). Make sure you check for spam words and domains in the HTML. (for example, if you use a domain in any of the links in the html that is present in a DBL (Domain Blacklist), your email might bounce). Inbox Test every campaign you're going to send and make adjustments where needed.
Remove inactive emails
We recommend removing non-opening emails or non-clicking emails after 180 days. A lot of ISP algorithms are based on user engagement. The more non-openers and non-clickers, the worse the statistic gets and the worse your inbox rate becomes. After six months, you can also retry sending to these email addresses to see if the recipients open or click.
Use a Reply-To header that is valid
We all receive emails from noreply@, but it's actually better to have a functional Reply-To that's monitored and customers enquiries are responded to. The more engagement between you and your customers, the better your deliverability.
Send 1 email per connection
You should only send emails to 1 person. You've seen those emails where you have a large number of "CC" or "TO" recipients. This is a huge spam flag. When sending out bulk emails, ensure each email is addressed to a single person and not multiple contacts at once.
Enable outgoing TLS connections
Mail servers are supposed to be opportunistic in nature and what that means is they all prefer to use the most secure protocol when accepting mail - TLS 1.2, TLS 1.1, TLS 1.0, NO TLS in that order. Some mail servers will refuse all non-TLS transmissions, so in order to achieve maximum deliverability, you should always enable TLS when sending email.
Ensure that your abuse/complaint rates remain low
Once you sign up to the FBLs (Feedback Loops), as discussed earlier in this document, you need to actively remove those subscribers from your mailing list when you receive the alerts, in order to keep your abuse/complaint rate low. When these metrics get too high, they will affect your deliverability.
Do not use private WHOIS for your domains
All registered domains are required to have accurate information by ICANN. Hiding behind private WHOIS can hurt your domain reputation and, in some cases, it is even illegal (CAN-SPAM Act).
Have a functional and complete privacy policy on your website
When asking for ISPs to whitelist your IPs/Domain, they do look for your privacy statement and verify it.
Remain consistent in your sending behaviour
Send your newsletters, promotional, marketing materials on the same day, every week/month. Being consistent proves you have a real business and keeps your IPs warm.
Do not segment emails per destination ISP
Separating your e-mails based on destination, unless under special circumstances, has a detrimental effect. Some domains will use SenderScore for reputation lookups, but those IPs will never get their sender score increased because they don't report back to Return-Path.
Do not send affiliate email marketing
Most ISPs blacklist the subject lines and content for this type of email. Remember, everyone is sending the same affiliate promotion. ISPs have AI that learn subject links and content, and your IPs will get blacklisted or are going to be limited to only being able to send to the spam folder. Normally, ISPs will accept and won’t complain if you add an advertisement to your normal newsletter.
Laws and Compliance
Honour all unsubscribe requests
Whether it's through an automatic unsubscribe link or manually requested, honour it. The sooner you honour it, the better. Never wait more than 10 days to do so, this is a requirement of the CAN-SPAM law.
Set up an email box monitor
You can define conditions so that while InboxingPro processes the emails found in the account, it will take certain actions if it finds certain content. For example, you can tell it to unsubscribe subscribers from the email list in case it finds the phrase “unsubscribe me”.
This feature is really useful when people reply to your email campaigns and tell you to unsubscribe them for example. This way you will spare valuable time since the process can be automated.
Comply with the law: CASL for CA, CAN-SPAM for US, DPEC for EU and other local anti-spam laws
When you're in compliance with the law, everything becomes much easier to whitelist
When you're in compliance with the law, everything becomes much easier to whitelist and managing your reputation will be free of obstacles.
Here are the links to some of the major e-mail laws:
Can-Spam Act (US)
CASL (CA).
DPEC (EU)
MX Records
Your domain has to have valid MX records
Although the RFC states that if the MX record is missing, one should use the A record as the mail server. We noticed that many ISPs don't follow the standard and they check the validity of your MX Record before allowing email from your domain. If you're looking for a good mail service provider (ISP) for your domain, we recommend using G-Suite from Google.


